Tuesday, 6 November 2018

Fall Manicure - How to Stamp with Permanent Markers and Mirror Polish


Hi Everyone! Today I will show you how to stamp with Permanent Markers and Mirror/Metal stamping polishes!
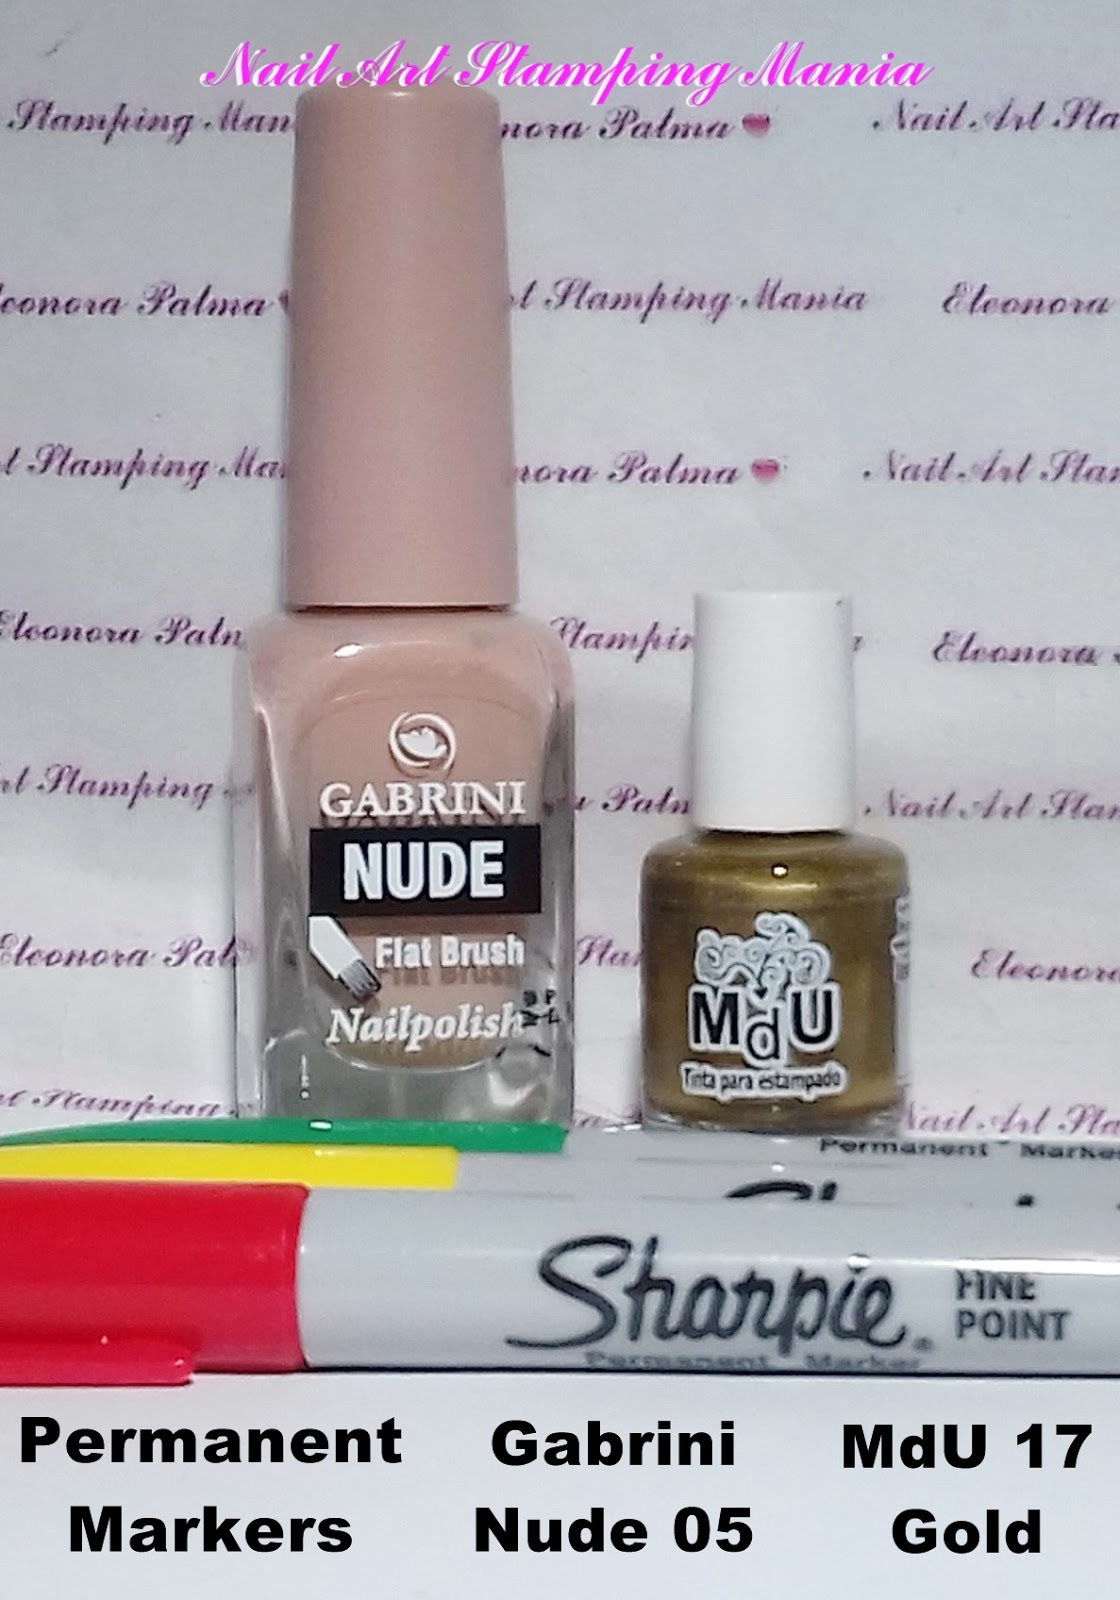
First of all I applied two layers of nude polish (Gabrini Nude 05).
Later, I painted the leaves with Permanent Markers: Red, yellow and green.
After that, I stamped with the stamping polish MdU 17 Gold. In this way you obtain
the image stamped with a metal effect!
Finally, I applied waterbased top coat from Essence.
Don't miss the video tutorial at the end of this post!

P.S.  It works also with regular mirror/metal polishes.


Ciao a tutti! Oggi vi mostrerò come stampare con pennarelli indelebili e smalti per stamping per Mirror/Metal!
Prima di tutto ho applicato due mani di smalto nude (Gabrini Nude 05).
Poi, ho dipinto le foglie con i pennarelli indelebili: rosso, giallo e verde.
Successivamente, ho stampato con lo smalto per stamping MdU 17 Gold. In questo modo si ottiene
l'immagine stampata con un effetto metallico!
Alla fine ho applicato il top coat a base d'acqua di Essence.
Non perdete il video tutorial alla fine di questo post!

P.S.  Funziona anche con smalti a mirror/metal normali.


Born Pretty BPL-024 

The pattern that I chosen!
-------
Il disegno che ho scelto!


Video Tutorial:


What I used:

Cosa ho Usato:

  1. Base: Base Coat UV.
  2. Base Polish: Gabrini Nude 05.
  3. Stamping Plate: Born Pretty L-024.
  4. Stamping Polish: MdU 117 Gold.
  5. Permanent Markers: Sharpie red, green and  yellow.
  6. Top coat: Essence Waterbased Top Coat "Blossom  Dream".

Thanks for watching!!! ♥
Grazie per la visione!!! ♥

Saturday, 1 September 2018

Flowers Manicure with TU-L030 Stamping Plate


Hi everyone! Today I will to show you a simple flowers manicure with stamping decal technique.
I applied two layers of light blue polish (Kiko 340). On index and pinky I chosen a sugar polish (Kiko 644).
I prepared the decals by stamping with TU-L030 stamping plate and MdU 1 White. I painted with Kiko 644 and Kiko 476.
Finally, I protected with Essence Metal Shock Top Coat.

MdU stamping polishes are available HERE while the plate I used is sold by AliExpress.


Ciao a tutti! Oggi vi mostrerò una semplice manicure floreale con la tecnica dello stamping decal.
Ho applicato due mani di smalto azzurro chiaro (Kiko 340). Sull'indice e ol mignolo ho scelto uno smalto sugar (Kiko 644).
Ho preparato i decals stampandoli con la piastra TU-L030 e con MdU 1 White. Ho dipinto con Kiko 644 e Kiko 476.
Infine, ho protetto con Essence Metal Shock Top Coat.

Gli smalti MdU per stamping sono disponibili QUI mentre la piastra che ho usato è venduta su AliExpress.


Version with colours inverted....it's funny isn't it?

Versione con colori invertiti...divertente vero?


What I used:

Cosa ho Usato:

  1. Base: Base Coat UV
  2. Base Polish: Kiko 340 and Kiko 644 (on index and pinky).
  3. Stamping Plate: TU-L030 from AliExpress.
  4. Stamping Polish: MdU 1 White.
  5. Stamping Decal Polishes: Kiko 644 and Kiko 476.
  6. Top coat:  Essence Metal Shock Top Coat.

Thanks for watching!!! ♥
Grazie per la visione!!! ♥


Friday, 24 November 2017

Opal Manicure With Cici&Sisi 31 Stamping Plate - Tutorial


Hi everyone! Today I wish to show you an Opal Manicure done with neon polishes and a  Cici&Sisi Plate from the sixth set!
I applied two layers of white polish. Then, I put some drops of neon polish (Lady Venezia) yellow, red and blue on a plastic cap. I picked up the colors with some little pieces of sponge and I painted my nails...
I stamped with Cici&Sisi 31  Delicate Motif (Set 6) and Essence Stampy Black...
For my ring finger I made a stamping decal with the same plate.
I added a golden stud and finally, I applied the top coat!
This plate is available HERE
You will see many other details on the video tutorial at the end of the post!!!


Ciao a tutti! Oggi desidero mostrarvi un manicure effetto Opale  fatta con smalti neon e una piastra Cici&Sisi  del sesto set!
Ho applicato due strati di smalto bianco. Poi, ho messo alcune gocce di smalto neon (Lady Venezia)
giallo, rosso e blu su un coperchio di plastica. Ho preso i colori con dei piccoli pezzi di spugna e ho dipinto le unghie ...
Ho timbrato con Cici&Sisi 31  Delicate Motif (Set 6)  ed Essence Stampy nero ...
Per l'anulare ho fatto uno stamping decal con la stessa piastra.
Ho aggiunto una borchia dorata e, infine, ho applicato il top coat!
Questa piastra è disponibile QUI
Vedere molti altri dettagli sul video tutorial alla fine del post!!!


Wet n Wild French White Crème, Lady Venezia Neon Polishes, Essence Stampy black and some golden studs.


Cici&Sisi 31 Delicate Motif (Set Jumbo 6)


The patterns that I chosen!
-------
I modelli che ho scelto!


Video Tutorial:


What I used:

Cosa ho Usato:

  1. Base: Layla Rocky Nail
  2. Base Polish: Wet n Wild French White Crème
  3. Rainbow Polishes: Lady Venezia 91, 93 and 95.
  4. Stamping Plate: Cici&Sisi 31 Delicate Motif
  5. Stamping Polish: Essence Stampy Black
  6. Nail Art Decorations: Some golden studs.
  7. Top coat:  Essence Quick Dry

Thanks for watching!!! ♥

Saturday, 28 October 2017

How to Stamp with Mirror Pigment and UberChic Beauty Halloween 01 plate - Tutorial


Hello Everyone! Today I will show you a manicure for Halloween season in which I stamped with mirror pigment!
For this technique it's essential a matte base so that the pigments doesn't adhere to the nail polish.  
First of all I used a black nail polish as a base. 
I applied the waterbased top coat (Essence Blossom Dream), I spread a chamaleon pigment Blue/Violet from Born Pretty (n.583) and I repeated again the same step to obtain a stronger effect.
Later, I applied the matt top coat so that I can work on a matt surface. I spread a silver pigment on a clear stamper and I stamped with a light gold stamping polish (MdU 40) and Halloween 01 plate from ÜberChic.
On the left hand I used another multichrome pigment Green/Purple as a base and I stamped with the same stamping polish, the same pigment and the same plate!
I bought all pigments I used on AliExpress: 
The Blue/Violet HERE, the Green/Purple (HLMR10) HERE and the silver one HERE.
The plate Halloween 01 from ÜberChic it's available HERE.
Don't miss the video tutorial below for a better understanding!


Ciao a tutti! Oggi vi mostrerò una manicure per il periodo di Halloween in cui ho stampato con pigmento mirror!
Per questa tecnica è essenziale una base opaca in modo che i pigmenti non aderiscano allo smalto.
Innanzitutto ho usato uno smalto nero come base.
Ho applicato il top coat a base d'acqua (Essence Blossom Dream), ho steso un pigmento Blu/Viola di Born Pretty (n.583) e ho ripetuto lo stesso passaggio per ottenere un effetto più forte.
Più tardi, ho applicato il top coat opaco in modo che potessi lavorare su una superficie opaca. Ho steso un pigmento argento su un  stamper trasparente e ho timbrato con uno smalto per stamping oro chiaro (MdU 40) e la piastra di Halloween 01 di ÜberChic.
Sulla mano sinistra ho usato un altro pigmento multicolore Verde/Viola come base e ho timbrato con lo stesso smalto per stamping, lo stesso pigmento e la stessa piastra!
Ho comprato tutti i pigmenti che ho usato su AliExpress:
Il Blu/Viola QUI, il Verde/Porpora (HLMR10) QUI e quello argento QUI.
La piastra Halloween 01 di ÜberChic è disponibile QUI.
Non perdete il video tutorial qui sotto per una migliore comprensione!


On the left hand I used another multichrome  pigment: Green blue/Purple
Sulla mano sinistra ho usato un altro pigmento multichrome: Verde blu/Porpora


UberChic Beauty - Halloween 01


Video Tutorial:


What I used:

Cosa ho Usato:

  1. Base: Base Coat UV
  2. Base Polish: Wet n Wild Black Crème
  3. Stamping Plate: UberChic Beauty - Halloween 01
  4. Stamping Polish: MdU 40 Light Gold.
  5. Nail Art Decorations: Chameleon Pigment (blue/violet) from Born Pretty (n.583), Chameleon Pigment (green blue/purple) from AliExpress and Mirror Pigment (silver) from AliExpress.
  6. Top coat:  Essence Satin Matt Top Coat and Essence Waterbased Top Coat.


Thanks for reading!!! ❤
Grazie per la lettura!!! ❤

Friday, 13 October 2017

How to Stamp with Holographic Pigment and Top Coat - Marianne Nails Plate - Tutorial


Hi girls! In my previous post I showed you how to stamp with Chrome Pigments.
I've try the same technique with the holo powder but it doesn't gave good results, so, I used another thrick!
 I started with a black base. For thumb, middle and ring finger I put a bit of Holo Powder over the image I choosen from Marianne Nails 48 Plate. I added the top coat and I mixed powder and top coat by using the scraper. Later, I stamped as usual.
For other nails I applied the Waterbased Top Coat from Essence and I lat it dry. Later, I spreaded the pigment on pinkie and index finger. I repeated the same step to have a best effect.
Finally, I protected with Waterbased Top Coat from Essence.
The holo pigment is sold from AliExpress
For a better understanding I suggest seeing the video tutorial at the end of the post!


 Ciao ragazze! Nel mio post precedente vi ho mostrato come stampare con pigmenti Chrome.
Ho provato la stessa tecnica con la polvere olografica ma non ha dato buoni risultati, quindi, ho usato un altro trucco!
  Ho iniziato con una base nera. Per il pollice, il dito medio e l'anulare ho messo un po' di polvere olografica
sull'immagine che ho scelto dalla piastra di Marianne Nails 48. Ho aggiunto il top coat e ho mescolato polvere e top coat utilizzando il raschietto. Quindi ho stampato normalmente.
Per le altre unghie ho applicato il Top Coat Blossom Dreams Waterbased di Essence e ho lasciato asciugare. Poi, ho strofinato il pigmento sul mignolo e sull'indice. Ho ripetuto lo stesso step per avere un effetto migliore.
Infine, ho protetto con il Top Coat Waterbased  di Essence.
Il pigmento holo è in vendita da AliExpress.
Per una migliore comprensione vi suggerisco di vedere il video tutorial alla fine del post!


Marianne Nails 48


Video Tutorial:


What I used:

Cosa ho Usato:

  1. Base: Base Coat UV
  2. Base Polishes: Wet n Wild Black Crème
  3. Stamping Plate:  Marianne Nails 48
  4. Stamping Polish: Top Coat Essence Quick Dry
  5. Nail Art Decorations: Holographic Pigment from AliExpress.
  6. Top coat:  Essence Blossom Dreams Waterbased Top Coat

Thanks for reading!!! ❤
Grazie per la lettura!!! ❤

Friday, 6 October 2017

How to Stamp with Chrome or Multichrome Pigments and Stamping Polishes - Tutorial


Hello Everyone! One year ago I made a post with video in wich I explained how to stamp with chrome pigments and clear nail polish or top coat. 
Today, instead, I will show you how to stamp with Chrome or MultiChrome Pigments with stamping polishes using a clear stamper! In this way the effect is very stronger!
For this technique it's essential a matte base so that the pigments doesn't adhere to the nail polish.
I applied a nude matte polish but you can use any regular polish and add a layer of matte top coat.
I spread a multichrome pigment (dark bronze/green) on a clear stamper and later, I stamped with red stamping polish and BPL-024 from Born Pretty plate.
It works with any stamping polish. I choosen a red color but isn't very important the color 'cause the pigment will cover it.
For thumb, pinkie and index I applied Essence Waterbased Top Coat. I let it dry and I applied the chrome pigment. I repeated the same step and finally, I protected again with waterbased Top Coat.
I bought this pigment from AliExpress (number HLMR09). 
Don't miss the video tutorial below for a better understanding!


 Ciao a tutti! Un anno fa ho fatto un post con video in cui ho spiegato come timbrare con pigmenti chrome e smalto trasparente o top coat.
Oggi, invece, vi mostrerò come timbrare con pigmenti Chrome o MultiChrome con smalti per stampare usando un stamper trasparente! In questo modo l'effetto è molto più forte!
Per questa tecnica è fondamentale una base opaca in modo che i pigmenti non aderiscano alllo smalto.
Ho applicato uno smalto opaco nude, ma si pò utilizzare qualsiasi smalto normale e aggiungere una mano di top coat matte.
Ho strofinato un pigmento multichrome (bronzo scuro/verde) su un stamper trasparente e poi, ho stampato con smalto per stamping rosso (MdU 32 Reddish) e piastra BPL-024 di Born Pretty.
Funziona con qualsiasi smalto per stamping. Ho scelto un colore rosso, ma non è molto importante il colore perché il pigmento lo coprirà.
Per il pollice, il mignolo e l'indice ho applicato Essence Waterbased Top Coat. L'ho lasciato asciugare e ho applicato il pigmento. Ho ripetuto lo stesso step e infine ho protetto nuovamente con Top Coat a base d'acqua.
Il pigmento l'ho acquistato da AliExpress (numero HLMR09). 
Non perdete il tutorial video qui sotto per una migliore comprensione!


Born Pretty BPL-024


Video Tutorial:


What I used:

Cosa ho Usato:

  1. Base: Base Coat UV
  2. Base Polishes: Gabrini Nude Matte 01 (Over middle and ring finger) and Essence Waterbased Top Coat on other fingers.
  3. Stamping Plate:  Born Pretty BPL-024
  4. Stamping Polish: MdU 32 Reddish.
  5. Nail Art Decorations: Multichrome Pigment (dark bronze to green) from AliExpress.
  6. Top coat:  Essence Waterbased Top Coat


Thanks for reading!!! ❤
Grazie per la lettura!!! ❤


Monday, 18 September 2017

Beach Mani with Sugar and Sheer Polishes and Bundle Monster Stamping Plate


Hi girls! It's been a long time since I'm not writing on my blog, so today I will publish a summer manicure before it's too late for summer season!!!
I liked so much a beach mani from @plus10kapow and I tried to recreate it!
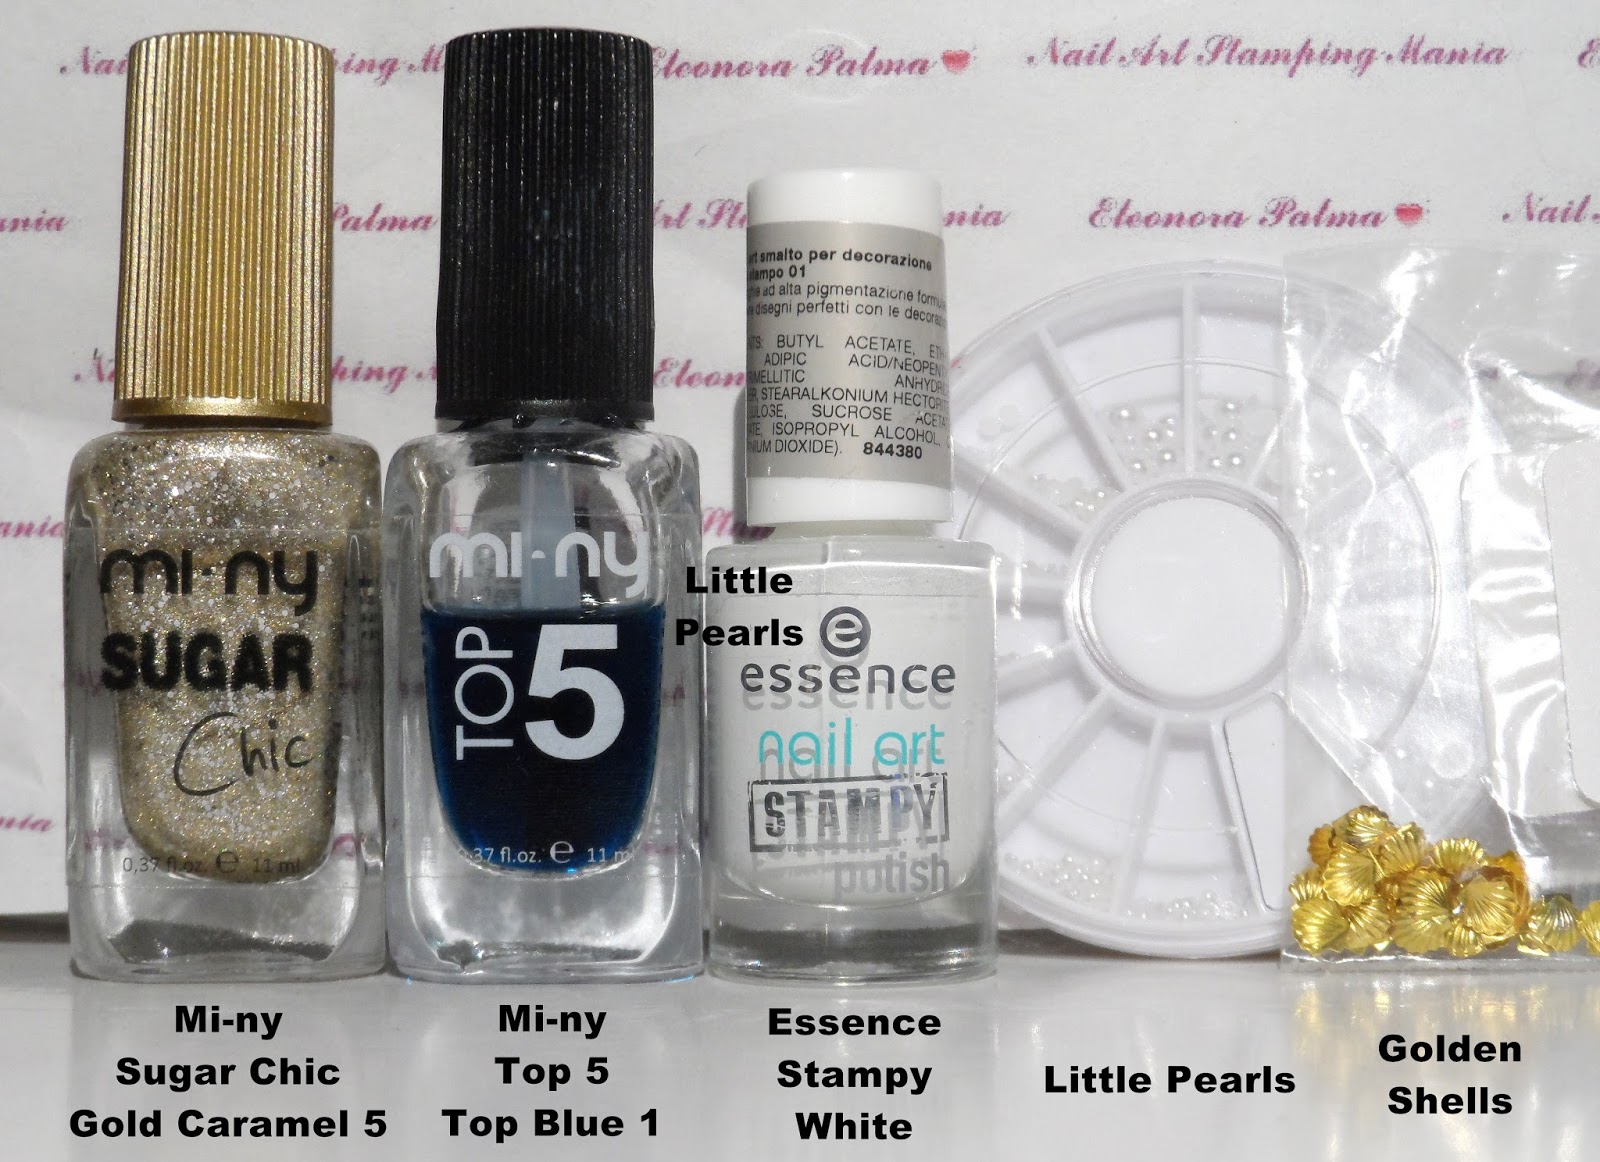
I used a sugar polish on my thumb, index and middle finger. For pinkie, ring finger and middle finger I used three layers of jelly polish from Mi-ny and I stamped with BM Sun Kissed 509 and Essence Stampy white. Later, I added other three layers of polish and I stamped again.
Finally, I applied a last layer of sheer polish over the stamping image (which has become light blue) and I added a shell and some pearls over the middle finger.
This plate is part of a stamping set from Bundle Monster (Sun Kissed) and it's available HERE. 
Don't miss the video tutorial at the end of the post!

 Ciao ragazze! E' passato molto tempo da quando non scrivo sul mio blog, quindi oggi pubblicherò una manicure estiva prima che sia troppo tardi per la stagione estiva!!! 
Mi è piaciuta tanto una manicure "da spiaggia" di @plus10kapow e ho cercato di ricrearla!
Ho usato uno smalto sugar sul mio pollice, l'indice e il dito medio. Per il mignolo, l'anulare e il dito medio ho usato tre strati di smalto jelly di Mi-ny e ho timbrato con BM Sun Kissed 509 ed Essence Stampy bianco. Poi ho aggiunto altri tre strati di smalto e ho stampato di nuovo.
Infine, ho applicato un ultima mano di smalto jelly sopra l'immagine timbrata (che è diventata celeste) e ho aggiunto una conchiglia e alcune perle sul dito medio.
Questa piastra fa parte di un set di piastre di Bundle Monster (Sun Kissed) ed è disponibile QUI.
Non perdete il video tutorial alla fine del post!


Bundle Monster Sun Kissed 509


Video Tutorial:


What I used:

Cosa ho Usato:

  1. Base: Base Coat UV
  2. Base Polish:  Mi-ny Sugar Chic Gold Caramel 5 and Mi-ny  Top 5 Top Blue 1.
  3. Stamping Plate: Bundle Monster Sun Kissed 509
  4. Stamping Polish: Essence Stampy White.
  5. Nail Art Decorations: Golden shell and little pearls.
  6. Top coat:  Essence Quick Dry

Thanks for reading!!! ♥
Grazie per la lettura!!! ♥