Showing posts with label Layered Plate. Show all posts

Wednesday, 15 March 2017

Small Cone Stamper Head Set and Cici&Sisi - Flower 04 Plate from Cici&Sisi - Swatches and Review


Hi girls! Today I will review the Cone Stamper Head Set from Cici&Sisi!!!

The Clear Stamper Set from now is available in  three options:
-  2 round heads (3.0 cm) + 1 handle + 1 scraper
-  1 round head (3.0 cm) + 1 cone head (1.5 cm) + 1 handle + 1 scraper
-  1 round head (3.0 cm) + 1 diamond head (3.0 cm) + 1 handle + 1 scraper
I will show you the option with the cone head. 
I'm very proud to tell you that I was contacted by Cici&Sisi to suggest new ideas about stamping and I suggested this kind of stamper because due the small head (1.5 cm) is perfect to pick up little designs. In particular is perfect for layered images!
The Cone Stamper Set is sold HERE and the price is $12.99 + shipping cost.
I let you with the images and the video tutorial at the end of the post!


Ciao ragazze! Oggi recensirò il Cone Stamper Head Set di Cici&Sisi!!! 

Il Clear Stamper Set da ora è disponibile in tre opzioni:
- 2 teste rotonde (3,0 cm) + 1 manico + 1 raschietto
- 1 testa rotonda (3,0 cm) + 1 testa a cono (1,5 cm) + 1 manico + 1 raschietto
- 1 testa rotonda (3,0 cm) + 1 testa di diamante (3,0 cm) + 1 manico + 1 raschietto
Vi mostrerò l'opzione con la testa a cono. 
Sono molto orgogliosa di dirvi che sono stata contattata da Cici&Sisi per suggerire nuove idee sullo stamping e ho proposto questo tipo di stamper perché a causa della  testa piccola (1.5 cm) è perfetto per raccogliere piccoli disegni. In particolare è perfetto per immagini a più livelli (Layered)!
Il Cone Stamper Set è venduto QUI e il prezzo è di $12,99 + spese di spedizione. 
Vi lascio con le immagini e il video tutorial alla fine del post!


1 round head (3.0 cm) + 1 cone head (1.5 cm) + 1 handle + 1 scraper
------
 1 testa rotonda (3,0 cm) + 1 testa a cono (1,5 cm) + 1 manico + 1 raschietto


I tested this product with the acrylic plate Cici&Sisi - Flower 04 and I made a manicure with layered stamping. 
I used a metal polish as a base (Kiko Mirror 624). 
Later, I stamped the birds with Colour Alike Sunshine and Juicy Tangerine and I superimposed the contour of the bird using Konad black. For the flowers I used Colour Alike Sweetheart and Sunset and for the contours I used again Konad black. Finally, I applied Essence Fast Dry to protect.
Cici&Sisi - Flower 04 is sold HERE.


Ho testato questo prodotto con la piastra in acrilico Cici&Sisi - Flower 04 e ho fatto una manicure con il Layered stamping (a più livelli).
Ho usato uno smalto metallico come base (Kiko Mirror 624).
Poi, ho timbrato gli uccellini con Colour Alike Sunshine e Juicy Tangerine e ho sovrapposto il contorno degli uccelli utilizzando Konad nero. Per i fiori ho usato Colour Alike Sweetheart e Sunset e per i contorni  ho usato di nuovo Konad nero. Infine, ho applicato Essence Fast Dry per proteggere.
Cici&Sisi - Flower 04 è in vendita QUI .


Cici&Sisi - Flower 04 plate


Video Tutorial:


What I used:

Cosa ho Usato:

  1. Base: Layla Rocky Nail
  2. Base Polish: Kiko Mirror 624
  3. Stamping Plate: Cici&Sisi - Flower 04
  4. Stamping Polishes: Colour Alike Sunshine, Juicy Tangerine, Sweetheart, Sunset and Konad Black
  5. Top coat:  Essence Quick Dry


Thanks for reading!!! ♥
Grazie per la lettura!!! ♥

Sunday, 6 November 2016

Mermaid Life Stamping Plate from UberChic Beauty - Swatches and Review


Hi girls! Today I would like to show you one of the singles plates from UberChic Beauty: Mermaid Life! 
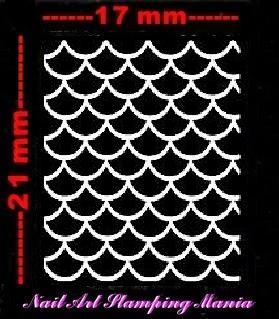
This plate is 9.5 cm by 14.5 cm and  has some "classic" full nail image of 17 x 21 mm and many images that have different variety of sized and are Mermaids and Pirate themed.
Furthermore, towards the bottom left corner of the plate you'll see two stamps that can be easily arranged in layers! You can find a small arrow between them to show which ones can be layered. I love all these lovely images and the etching is perfect!
This plate comes with a blue film that must be removed and the backing has a PVC Sticker so the edges aren't sharp!
You can can find Mermaid Life HERE and the price is $14.99 + shipping cost.
Don't miss the video review at  the bottom of the post!!!!!!


Ciao ragazze! Oggi vorrei mostrarvi una delle piastre singole di UberChic Beauty: Mermaid Life!
Questa piastra è di 9,5 cm per 14,5 cm e ha alcune immagini "classiche" a unghia piena di 17 x 21 mm e molte immagini  hanno diverse varietà di dimensioni e sono a tema sirene e pirati.
Inoltre, verso l'angolo in basso a sinistra della piastra vedrete due immagini che possono essere facilmente disposte a strati! È possibile trovare una piccola freccia tra loro per mostrare quali possono essere sovraimposte. Amo tutte queste belle immagini e l'incisione è perfetta!
Questa piastra viene fornita con una pellicola blu che va rimossa e la parte posteriore ha un adesivo in PVC in modo che i margini non siano taglienti!
È possibile trovare Mermaid Life QUI e il prezzo è $ 14,99 + spese di spedizione.
Non perdete la recensione video in fondo al post !!!


 The backing has a PVC Sticker
---------
La parte posteriore ha un adesivo in PVC


Don't forget to remove the blue film!!!
--------
Non dimenticate di rimuovere la pellicola blu!!!!


This plate measures 14.6 cm x 9.5 cm
-------
Questa piastra misura 14.6 cm x 9.5 cm


Almost all the images measure 2.1 cm x 1.7 cm
--------
Quasi tutte le immagini misurano 2.1 cm x 17 cm


UberChic Beauty Mermaid Life


I tested some designs with Essence Stampy Black
---------
Ho testato alcune immagini con Essence Stampy nero


For this  manicure I used two coats of  Shaka Hologram Sky. 
 I used the layered stamps of this plate and I stamped with Born Pretty 
Stamping Polish 9 and MdU 3 Blue Navy. For the middle finger I made 
a stamping decal using the same stamping polishes and one of the 
beautiful mermaids of this plate.
------
Per questa manicure ho usato due mani di Shaka Hologram Sky.
 Ho usato le immagini Layered di questa piastra e ho timbrato 
con lo smalto per stamping Born Pretty 9 e MdU 3 Blu Navy. Per il dito 
medio ho fatto uno stamping decal  utilizzando gli stessi smalti 
per stamping e una delle belle sirene di questa piastra.


Video Tutorial:


What I used:

Cosa ho Usato:


  1. Base: Layla Rocky Nail
  2. Base Polish: Shaka Hologram Sky
  3. Stamping Plate: UberChic Beauty Mermaid Life
  4. Stamping Polish: Born Pretty Stamping Polish 9 and MdU 3 Blue Navy
  5. Top coat:  Essence Quick Dry


Thanks for reading!!! ♥
Grazie per la lettura!!! ♥


Wednesday, 2 November 2016

UberChic Beauty Collection 12 and Roses Manicure - Swatches and Review


Hey there! Would you believe that UberChic Beauty has already arrived at the twelfth Collection of stamping plates?
Well, today I will show you this beautiful set in which you can find flowers, geometrical images, paisleys, mandala and a lot of negative designs!!!
But, apart from the wide range of images, there are also some Layered images...Keep an eye on the tiny arrow on the plates to go to find them!!!!!! I love the Layered images, you can superimpose them or use them also singly!
The Collection contains three plates that measure 9.5 cm x 14.5 cm each.
There are full nail images (that measure 17 x 21 mm) as well as individual images (down the center of the plates) that complemented the full nail designs.
Each plate comes with a PVC Sticker on the back to ensure you won’t get cut.
You can can find UberChic Beauty Collection 12 HERE. The price is $24.99 + shipping cost but for now it costs 22.99$ because there is a small typo on the plate 12-03: "this to shall pass" should read "this too shall pass" that will be correcting it in the next re-launch.
Now, I let you with all images and with my video tutorial!!!


Ehilà! Ci credereste che UberChic Beauty è già arrivata alla dodicesima Collezione di piastre?
Bene, oggi vi mostrerò questo bel set in cui si possono trovare fiori, immagini geometriche, paisleys, mandala e un sacco di disegni negative space!!!
Ma, a parte la vasta gamma di immagini, ci sono anche alcune immagini a più livelli (Layered)... Tenete d'occhio la piccola freccia sulle piastre per andare a trovarle!!! Amo le immagini a più livelli, è possibile sovrapporle o usarle anche singolarmente!
La raccolta contiene tre piastre che misurano 9,5 cm x 14,5 cm ciascuna.
Ci sono immagini a unghia piana (che misurano 17 x 21 mm), così come singole immagini (lungo il centro delle piastre), che completato i disegni a unghia piena.
Ogni piastra è dotata di un adesivo in PVC sul retro per assicurare che non ci si possa tagliare.
È possibile trovare UberChic Beauty Collection 12 QUI. Il prezzo è di $ 24,99 + spese di spedizione per ogni set, ma per ora costa  22.99$ perché c'è un piccolo errore di battitura sulla piastra 12-0 ("this to shall pass" doveva leggersi "this too shall pass") che verrà corretta nella prossima riedizione.
Ora, io vi lascio con le immagini e con il mio video tutorial !!!


The back of these plates is protected with paper and the blue film must be removed before use!!!
---------
La parte posteriore di queste piastre è protetta con carta e la pellicola blu deve essere rimossa 
prima dell'uso !!!


Each plate measures 14.6 cm x 9.5 cm
-------

Ogni piastra misura 14.6 cm x 9.5 cm


Almost all the images measure 2.1 cm x 1.7 cm
---------
Quasi tutte le immagini misurano 2.1 cm x 17 cm


UberChic Beauty 12-01


UberChic Beauty 12-02


UberChic Beauty 12-03


I tested some designs with Essence Stampy Black
-----
Ho testato alcune immagini con Essence Stampy nero


 For this Layered manicure I used UberChic Beauty 12-03...
 I used Wet n Wild French White Crème as a base.
I stamped with Kiko 314, Kiko 285 and Konad Dark Green.
------
 Per questa Layered manicure ho usato UberChic Beauty 12-03...
Ho usato Wet n Wild French White Crème come base.
Ho stampato con Kiko 314, Kiko285 e Konad Verde Scuro.


Video tutorial:


What I used:

Cosa ho Usato:

  1. Base: Layla Rocky Nail
  2. Base Polish: Wet n Wild French White Crème
  3. Stamping Plate:  UberChic Beauty 12-03
  4. Stamping Polish: Kiko 314, Kiko 285 and Konad Dark Green.
  5. Top coat:  Essence Quick Dry

Thanks for reading!!! ♥
Grazie per la lettura!!! ♥


Tuesday, 1 November 2016

Rose Manicure with Pueen Double Fun 01 - Tutorial


Hi girls! For this manicure I used the new Layered stamping plate "Double Fun 01" from Pueen!
As you know Layered plates are special plates with images that you can superimpose using different colors to create designs always original!
I started off with 2 coats of White for my base (Wet' n Wild White Crème). 
I made a gradient with Mi-ny Top Five Top Blue as you can see how in the video tutorial below.
Later, I started to stamp the leaves with green "Colour Alike B. a Fresh Mojito" and the leaf veins with dark green MdU 48 Military Green. 
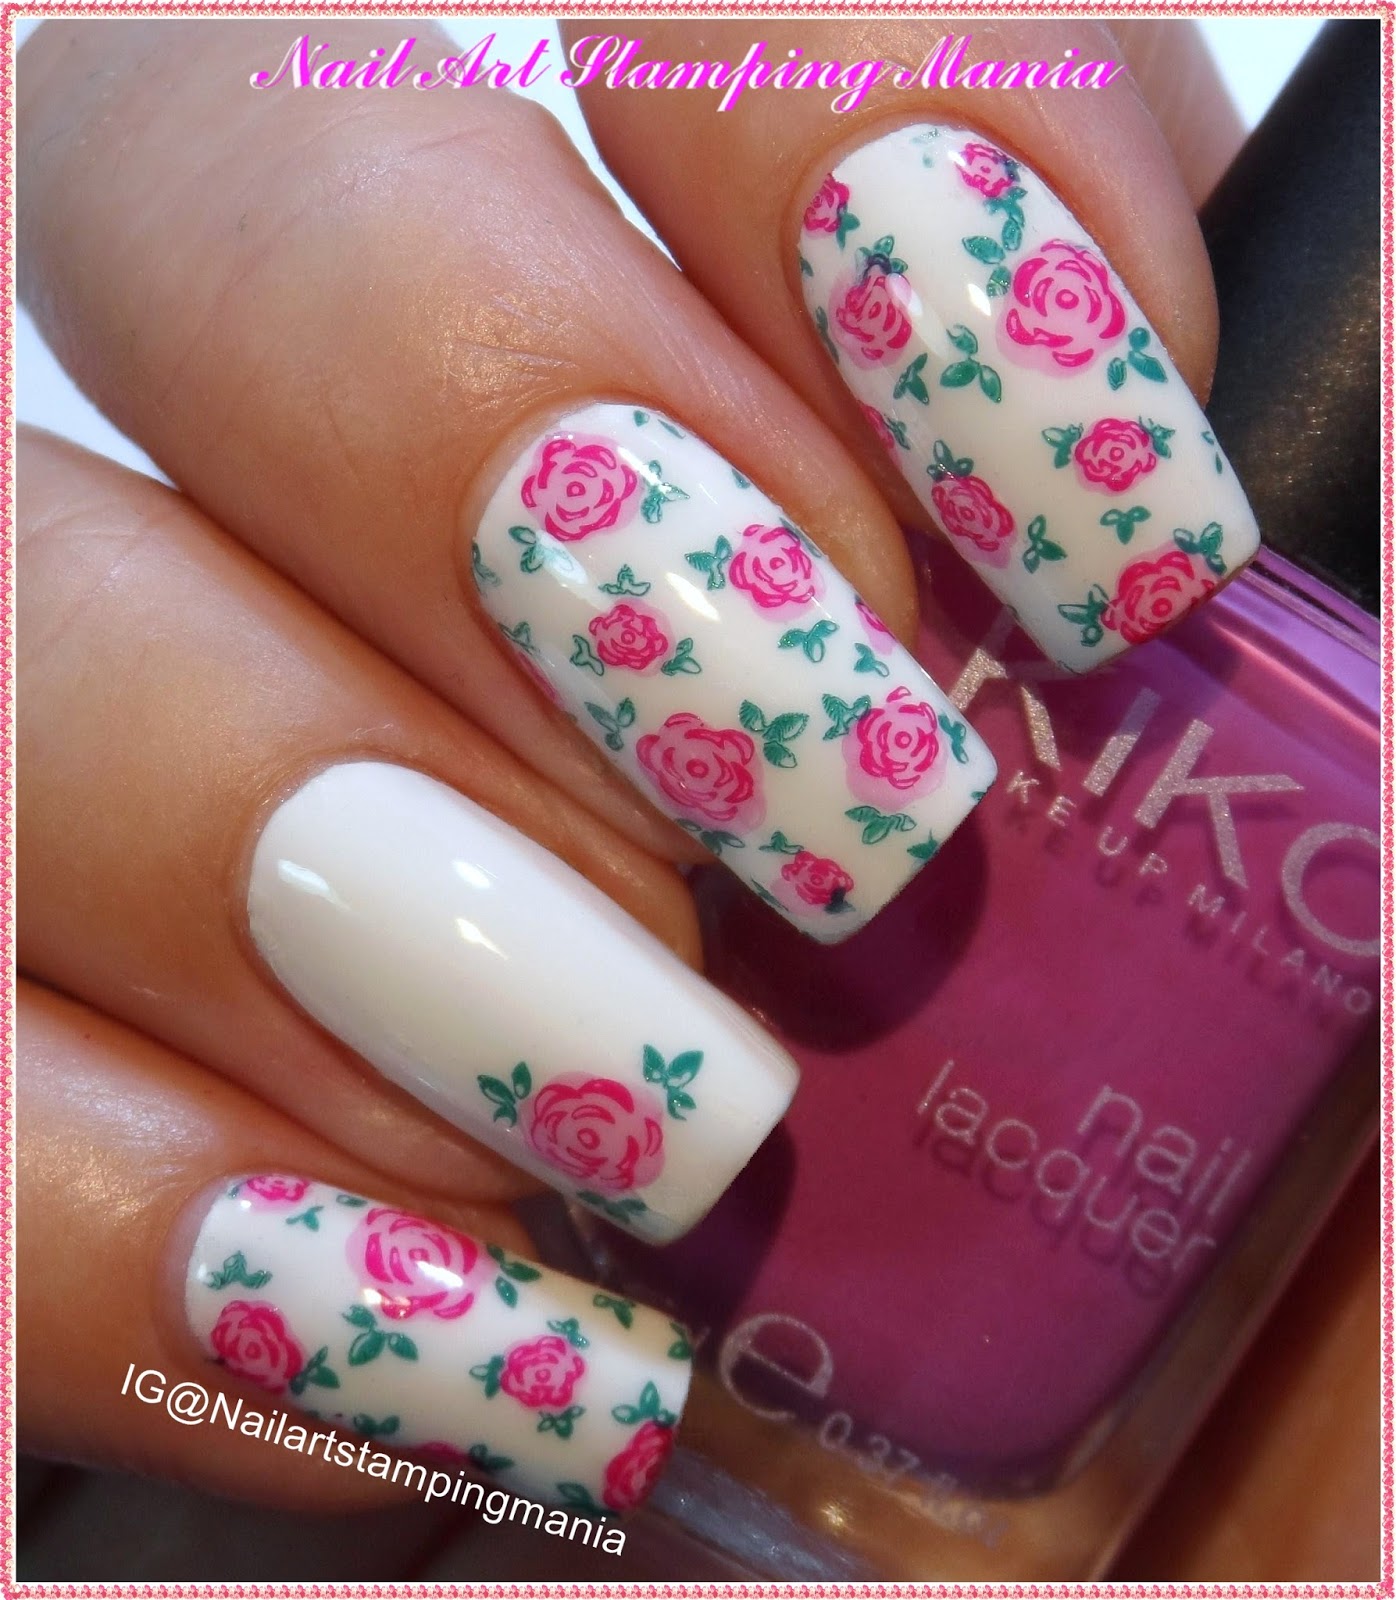
After that, I stamped the rose with three layered images and I used MdU 31 Peach, Kiko 359 and for the contours of the rose  I used Kiko 360. Finally I applied the top coat.
You can find Double Fun 01 HERE and the price is 4.99$ + shipping cost.
The clear stamper is available HERE.
Now I let you with the images and the video tutorial at the bottom of the post!


Ciao ragazze! Per la manicure di oggi ho usato la nuova piastra Layered "Double Fun 01" di Pueen!
Come sapete le piastre Layered sono piastre speciali con immagini che è possibile sovrapporre utilizzando colori diversi per creare disegni sempre originali!
Ho iniziato con 2 mani di bianco per la mia base (Wet 'n Wild White Crème).
Ho fatto un gradient con Mi-ny Top Five Top Blue come si può vedere come nel video tutorial qua sotto.
Poi, ho iniziato a stampare le foglie con il verde "Colour Alike B. a Fresh Mojito" e le venature delle foglie  con il verde scuro MdU 48 Military Green.
Dopo di che, ho timbrato la rosa con tre immagini Layered (a più livelli) e ho usato MdU 31 Peach, Kiko 359 e per i contorni della rosa ho usato Kiko 360. Infine ho applicato il top coat.
È possibile trovare Double Fun 01 QUI e il prezzo è 4,99 $ + spese di spedizione.
Lo stamper trasparente è disponibile QUI.
Ora vi lascio con le immagini e il video tutorial sul fondo del post!


Pueen Double Fun 01 


The patterns that I choose
--------
I modelli che ho scelto


Video Tutorial:


What I used:

Cosa ho Usato:

  1. Base: Layla Rocky Nail
  2. Base Polishes: Wet n Wild White Crème 
  3. Gradient Polish: Mi-ny Top Five Top Blue
  4. Stamping Plate:  Pueen Double Fun 01 
  5. Stamping Polishes: Colour Alike B. a Fresh Mojito,  MdU 48 Military Green, MdU 31 Peach, Kiko 359 and Kiko 360.
  6. Top coat:  Essence Quick Dry


Thanks for reading!!! ♥
Grazie per la lettura!!! ♥